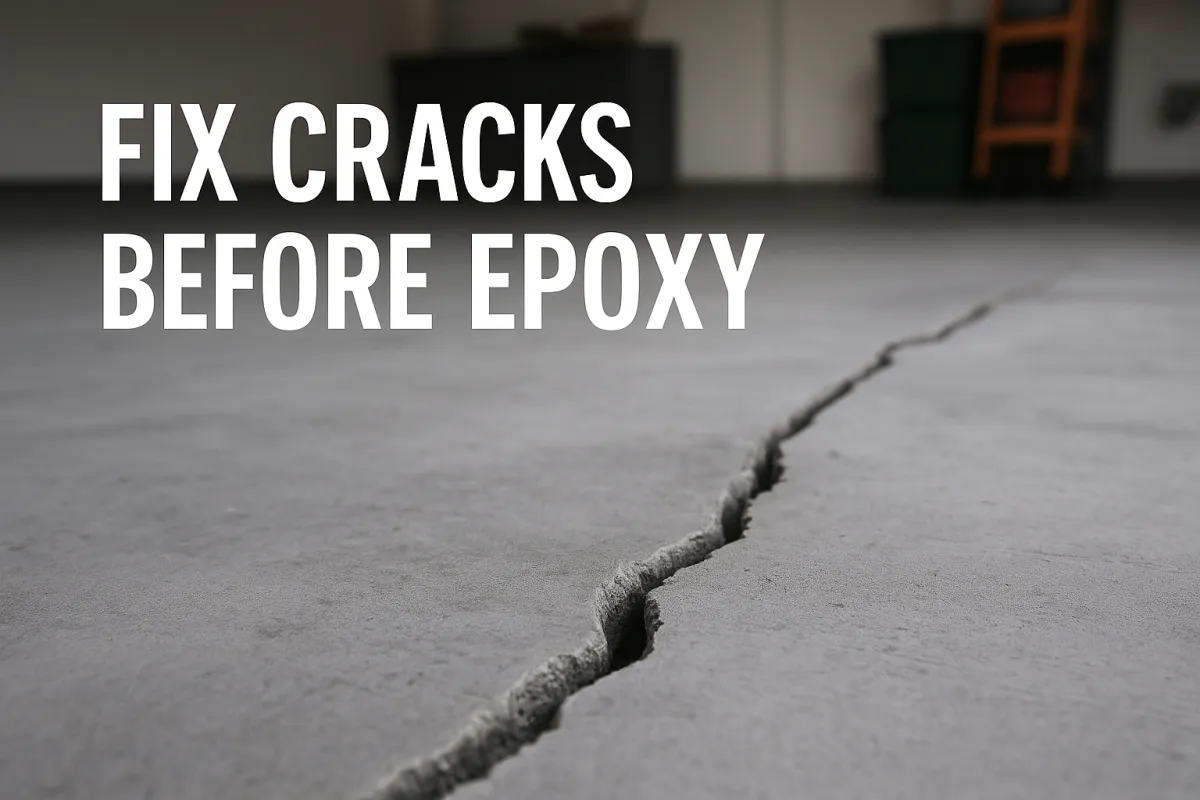
Fix Cracks Before Epoxy: Pro Tips for Garage Floors That Last
Fix Cracks Before Epoxy—Your Guide to Durable, Finished Garage Floors
Tired of those cracks spiderwebbing across your garage floor? Thinking about covering them with epoxy and hoping for the best?
Here’s the hard truth: Midwest winters cause thousands of new concrete cracks every single year, and if you don’t fix them first, even the best epoxy will peel, bubble, or fail—fast.
But there’s good news. You can stop the cycle.
In this guide, we’ll break down why repairing cracks first is non‑negotiable, how to tell which ones you can handle yourself, and when it’s time to call in a pro. You’ll also learn which fillers actually last in freeze‑thaw climates (and which to avoid), plus a simple, step‑by‑step process to get your floor ready for a flawless epoxy finish.
Let’s build a floor that doesn’t just look good for a season—but for the next decade.
Why You Must Fix Cracks Before Epoxy
What Happens If You Skip Crack Repair?
Here’s the truth: epoxy doesn’t magically erase problems—it locks them in. When cracks go untreated, they move, expand, and wreak havoc under the coating. That’s when you get peeling, bubbling, and a floor that fails long before its time.
DIY kits? They promise a “quick fix.” But those thin, one-step coatings rarely fill or stabilize cracks. They’re more like paint than a true flooring system. You end up covering the problem, not solving it.
If you skip proper repair, here’s what you’re in for:
Visible flaws: The cracks telegraph through, ruining that “seamless” look.
Water seepage: Cracks act like highways for moisture, breaking down the coating from below.
Short lifespan: Unrepaired cracks mean your expensive epoxy job might not last a year.
The Science of Adhesion—How Epoxy Bonds to Concrete
Epoxy needs a clean, stable surface to chemically bond. If cracks aren’t repaired, they create weak points where the coating can’t fully grip. That’s when chips and delamination show up.
In the Midwest, there’s another villain: freeze-thaw cycles. Moisture seeps into cracks, freezes, expands, and destroys unprepped concrete from the inside out. Without repair, no epoxy—no matter how premium—can survive that.
Can You Epoxy Over a Cracked Garage Floor?
Technically? Yes.
Should you? Absolutely not.
Cracks don’t disappear under epoxy—they grow. And when they do, they take your expensive floor down with them.
Pro tip: Good prep means your epoxy lasts a decade, not a season.
Types of Garage Floor Cracks & What Causes Them
Shrinkage vs Settlement Cracks
Not all cracks are created equal. Some are harmless. Others are warning signs.
Shrinkage cracks are the most common. They form as new concrete cures and loses moisture, leaving behind thin, hairline lines. They’re usually shallow and cosmetic—more of an eyesore than a real problem.
Settlement cracks are different. These appear when the ground beneath your slab shifts or sinks. They’re wider, uneven, and often keep growing over time. That’s your floor telling you something’s off below the surface.
Structural Cracks—When to Call a Pro
Some cracks are more than surface-level damage—they’re structural red flags.
If you notice slabs shifting, cracks that keep reappearing, or gaps you can slide a coin into, it’s time to bring in a pro. These cracks often point to foundation movement or serious sub-base issues. No epoxy, filler, or DIY kit will hold up against that kind of instability.
When in doubt? Don’t wing it. Get an expert to inspect.
Control Joints and Cosmetic Cracks
Not every line on your garage floor is bad news.
Control joints—those intentional, straight lines cut into the slab—are there on purpose. They help control where cracks form as the concrete expands and contracts. Filling them can improve the look, but they’re not a structural concern.
Cracks you can safely fill yourself typically:
Are hairline or shallow
Don’t run across the entire floor
Haven’t changed size in months
Anything deeper, wider, or growing? That’s a job for an expert.
Inspecting & Assessing Your Garage Floor
How to Tell If Your Crack Needs Repair
Start with size. A good rule: if it’s wider or deeper than 1/8 inch, you need more than a quick DIY filler. Those bigger cracks need pro-grade materials that actually bond and stabilize the slab.
Next, do a few simple tests:
Moisture test: Tape a piece of plastic over the crack for 24 hours. If it fogs or sweats underneath, you’ve got active moisture issues.
Tap test: Knock around the edges with a hammer. Hollow sounds mean the concrete has separated from the sub-base—bad news for adhesion.
Edge check: Crumbling or loose edges? That’s a sign the crack is unstable and needs more than a cosmetic fix.
DIY or Call the Pros? Decision Guide
Here’s how to decide:
DIY is typically safe if:
Cracks are hairline or shallow.
No shifting or movement in the slab.
No moisture problems are present.
Call a pro if:
Cracks are deep, wide, or spreading.
The floor feels uneven or slabs are shifting.
You spot water intrusion or freeze-thaw damage.
What is the Best Way to Repair Cracks in Concrete Before Epoxy?
Not all repairs are equal.
Caulk: Cheap and easy, but flexible caulks don’t hold up under epoxy.
Concrete patch: Better, but often brittle—can pop loose with movement or temperature swings.
Epoxy/polyaspartic fillers: The gold standard. They chemically bond with your concrete, creating a stable, level surface that lasts.
Midwest homeowners: Look for low-temperature-tolerant fillers designed to handle freeze-thaw cycles. They’ll hold up when our weather doesn’t.
Step-by-Step: How to Fix Cracks Before Epoxy
Tools & Materials You’ll Need
Before you start, gather the right gear:
Crack chaser saw – opens cracks so filler bonds deep.
Angle grinder – for smoothing edges and prepping the surface.
Industrial vacuum – keeps dust from contaminating the repair.
Epoxy or polyaspartic filler – pick based on your floor’s needs (we’ll cover this).
Safety gear – gloves, goggles, and a good respirator.
Surface Prep—The Key to Success
Prep makes or breaks your epoxy job.
Clean the surface: Remove all dirt, grease, and debris.
Chase the cracks: Use a crack chaser to widen and expose clean edges—don’t just fill over the top.
Grind the surface: A diamond grinder levels out high spots and opens up pores for bonding.
Test for moisture: Tape down plastic overnight. Fogging means you need a moisture mitigation step.
Choosing the Right Crack Filler
Here’s where many people fail: using the wrong filler.
Epoxy fillers: Rigid, strong, great for structural stability.
Polyaspartic fillers: Faster-curing, flexible, perfect for freeze-thaw climates like the Midwest.
Cement-based fillers: Easy to apply but can shrink and crack—use only for non-structural cosmetic repairs.
Pro tip for Midwest garages: Go for polyaspartic fillers rated for sub-zero temps. They flex with the slab instead of snapping.
Filling & Finishing the Crack
Now the repair:
Inject or trowel in filler: Overfill slightly—settling happens.
Level it out: Use a scraper while wet to reduce sanding later.
Let it cure: Follow the manufacturer’s cure times (usually 4–24 hours).
Sand or grind flush: Make it smooth so your epoxy coating bonds evenly.
What can go wrong?
Skipping cure time, failing to clean out dust, or underfilling leads to repairs that fail under epoxy.
Ready for Epoxy—What Comes Next
Before coating, double-check:
Cure test: Is the filler fully hardened?
Moisture test: Repeat the plastic test—no fogging means you’re good to go.
Pro tip: Diamond grinding the entire floor after repair is non-negotiable. It ensures your epoxy bonds for the long haul.
Mistakes to Avoid When Repairing Garage Floor Cracks
Skipping Surface Prep
This is the #1 killer of epoxy jobs. Sweeping or brushing isn’t enough. Cracks need to be mechanically prepped—opened with a crack chaser and ground with a diamond grinder—so the filler bonds deep into the slab. If you just “fill and paint,” the repair will fail, and so will your epoxy.
Using the Wrong Filler
Those latex or acrylic fillers from the hardware store? They’re made for cosmetic touch-ups, not load-bearing repairs. They stay soft, flex too much, and peel right out under epoxy.
And those all-in-one DIY kits? They look easy, but they use thin coatings and weak fillers—fine for a rental garage, but not if you want a floor that lasts 10+ years.
Professionals use epoxy or polyaspartic fillers for a reason: they chemically bond to the concrete and hold up to weight, weather, and movement.
Not Allowing Proper Cure Time
This one’s painful. You fill, you’re excited, you rush. But epoxy over uncured filler means trapped moisture, bubbles, and peeling. Every product has a cure time—follow it. Rushing is how good repairs turn into expensive do-overs.
Should You Fill Cracks Before Epoxy?
Absolutely. Every pro insists on it.
Here’s why:
3 Reasons to Always Fix Cracks First:
Adhesion: Epoxy sticks to repaired, stable concrete—not to crumbling, unstable edges.
Longevity: Sealed cracks stop water from creeping in and breaking your slab from underneath.
Appearance: Smooth, repaired floors look better and stay seamless for years.
Choosing the Right Pro for Garage Floor Crack Repair
Questions to Ask Your Installer
Don’t just hire the first name you find online. Ask questions that separate true pros from quick-fix installers:
Do you diamond-grind before coating? (If they don’t, walk away. Grinding is non-negotiable for lasting adhesion.)
What type of fillers do you use? (Look for epoxy or polyaspartic—not cheap latex or acrylic.)
What’s your warranty? (Pro installers should stand behind their work. DreamWorx offers a 10-year guarantee—ask if they’ll match it.)
What Sets DreamWorx Apart
At DreamWorx, we treat every floor like it’s our own.
Owner-operated: You deal directly with experts who care—not a crew cutting corners.
No shortcuts: Every job gets full prep, quality fillers, and top-grade coatings.
Midwest-built durability: Our systems are designed for the freeze-thaw cycles that destroy lesser floors.
Fast installs: Most garages are fully repaired and coated in just 1–2 days.
How Long Does Crack Filler Need to Cure Before Epoxy?
It depends.
Most professional-grade fillers need 4–24 hours to fully cure before coating. Cooler temps or high humidity slow that down, while heat speeds it up.
In the Midwest, freeze-thaw conditions make timing critical. Rushing the cure in this climate leads to bubbles, peeling, or filler failure—one more reason to trust a pro who knows how to work around our weather.
FAQs — Garage Floor Crack Repair Before Epoxy
Can I just use a concrete patch?
You can, but it’s rarely enough. Standard concrete patches are brittle and don’t bond well to old concrete. They often crack again under epoxy. Professionals use epoxy or polyaspartic fillers that chemically bond to the slab for a lasting repair.
What if the crack comes back?
If a crack reappears, it usually means the slab is still moving (settlement or shifting). In that case, the repair needs to be reinforced—or the underlying cause addressed—before recoating.
Does polyaspartic work better than epoxy for crack repair?
It depends on your climate. Epoxy fillers are rigid and great for stabilizing structural cracks. Polyaspartic fillers are more flexible and perform better in freeze-thaw regions like the Midwest, where concrete expands and contracts dramatically.
Is garage floor crack repair messy?
It can be—but pros keep it contained. Using industrial vacuums and grinders with dust shrouds keeps your garage surprisingly clean.
How can I prevent future cracks?
You can’t stop concrete from moving entirely, but you can minimize damage:
Maintain good drainage around your garage.
Seal control joints to keep water out.
Use coatings that flex with the slab (like polyaspartic systems).
Build It Right—Fix Cracks Before Epoxy
Fixing cracks before epoxy isn’t just a “nice to have.” It’s the line between a floor that fails in a season and one that lasts for years. When you invest in proper prep—chasing, filling, grinding—you’re building a surface that can actually hold up to time, weather, and real life.
Have questions about your own garage floor? Drop them in the comments—we’re here to help.
Ready to see what’s possible? Get a free estimate today and let DreamWorx show you how we can transform your space.
